
Lost History, also referred to as Silent History in the Trophies screen, is an engaging side quest in Wuthering Waves. This guide will walk you through unlocking and completing the quest, locating all lighthouses, and earning the rewards.
How to Unlock Lost History
Lost History automatically unlocks after you repair any of the five lighthouses scattered across Huanglong. The easiest lighthouses to access are in Nameless Bay and Desorock Highland Bay, as their quest markers appear once you’re nearby. Once the first lighthouse is repaired, The Historian in Jinzhou City will contact you, initiating the quest. Your task is to find and repair all five lighthouses in no particular order.
Lighthouse Locations and Walkthrough
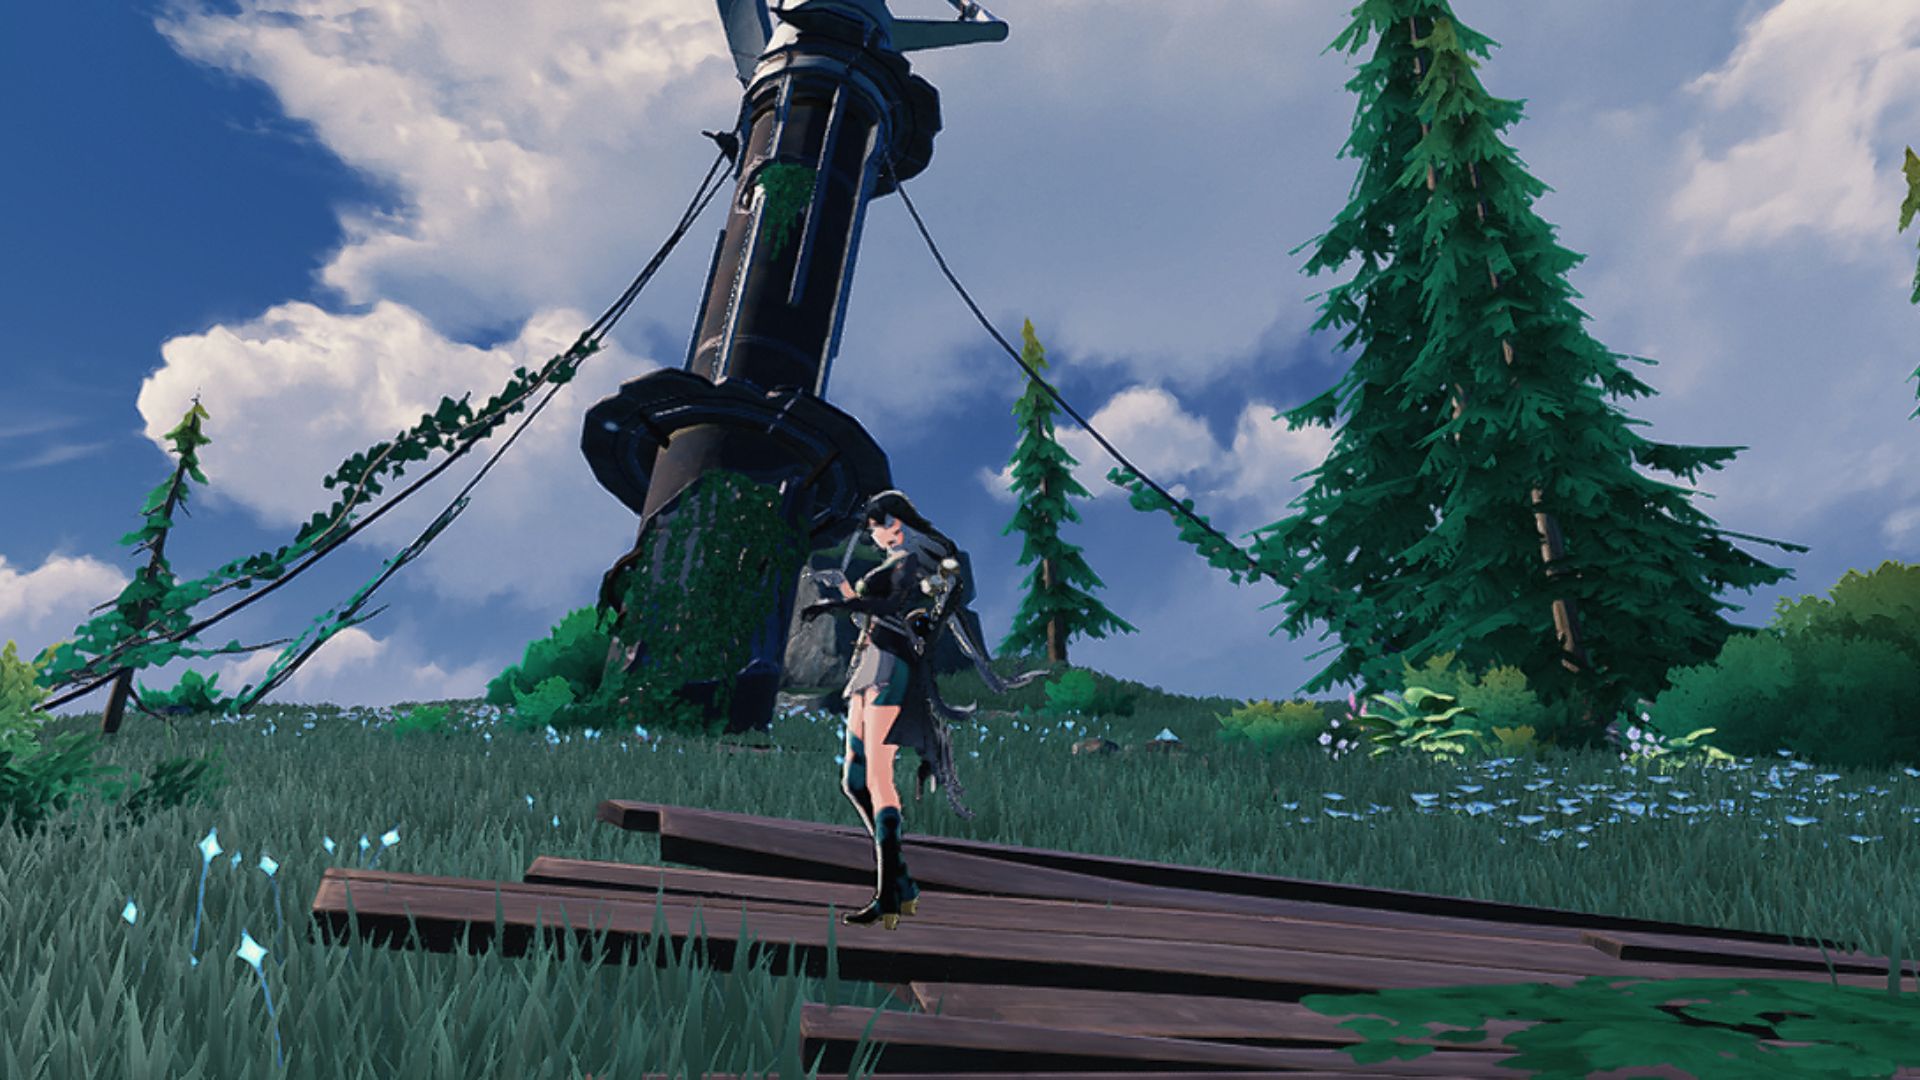
Frosting Harbor Lighthouse
Location: North of Frosting Harbor, near the Huanglong-Whining Aix’s Mire-Frosting Harbor Resonance Beacon.
- Burn Down the Thorns
- Use the Levitator in your Utility Wheel to grab an Explosive Charge and throw it at the thorns covering the lighthouse.
- Repair the Lighthouse
- Scale the lighthouse and access the terminal.
- Decrypt the terminal by connecting all identical colors on the panel.
- Solve the Puzzle
- Interact with the golden beacon near Frosting Harbor after repairing the lighthouse. This will spawn a Standard Supply chest and complete the puzzle.
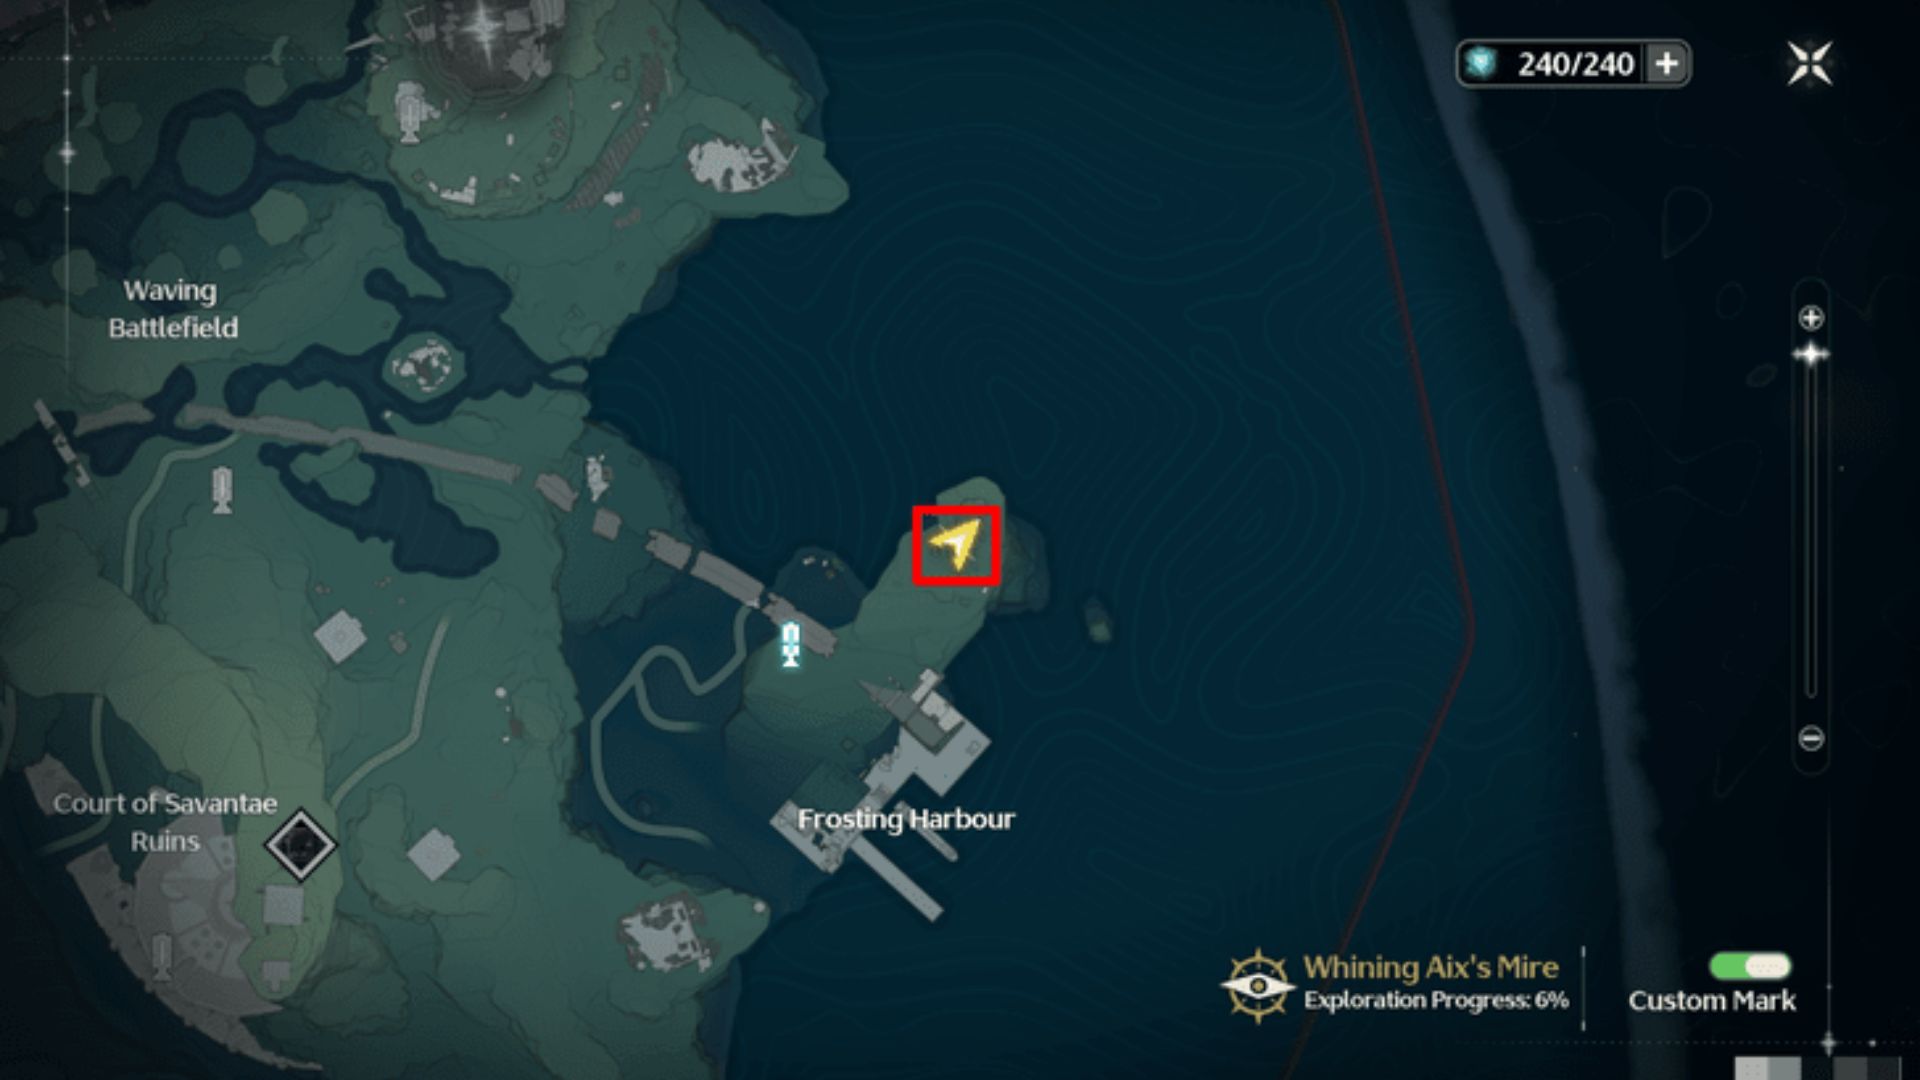 Frosting Harbor Lighthouse Location
(Credits: Kuro Games)
Forbidden Forest Lighthouse
Location: South of the Forbidden Forest, accessible via the Huanglong-Dim Forest-Forbidden Forest Nexus Resonance.
- Burn Down the Thorns
- Use the Explosive Charge under a tree to burn the first cluster of thorns. Repeat sequentially to clear the path to the lighthouse.
- Repair the Lighthouse
- Hack into the terminal and solve the color-connection puzzle.
- Locate the Treasure
- The treasure is marked by a white beacon near the cliff’s edge, north of the lighthouse. Dig it up to obtain a Standard Supply chest.
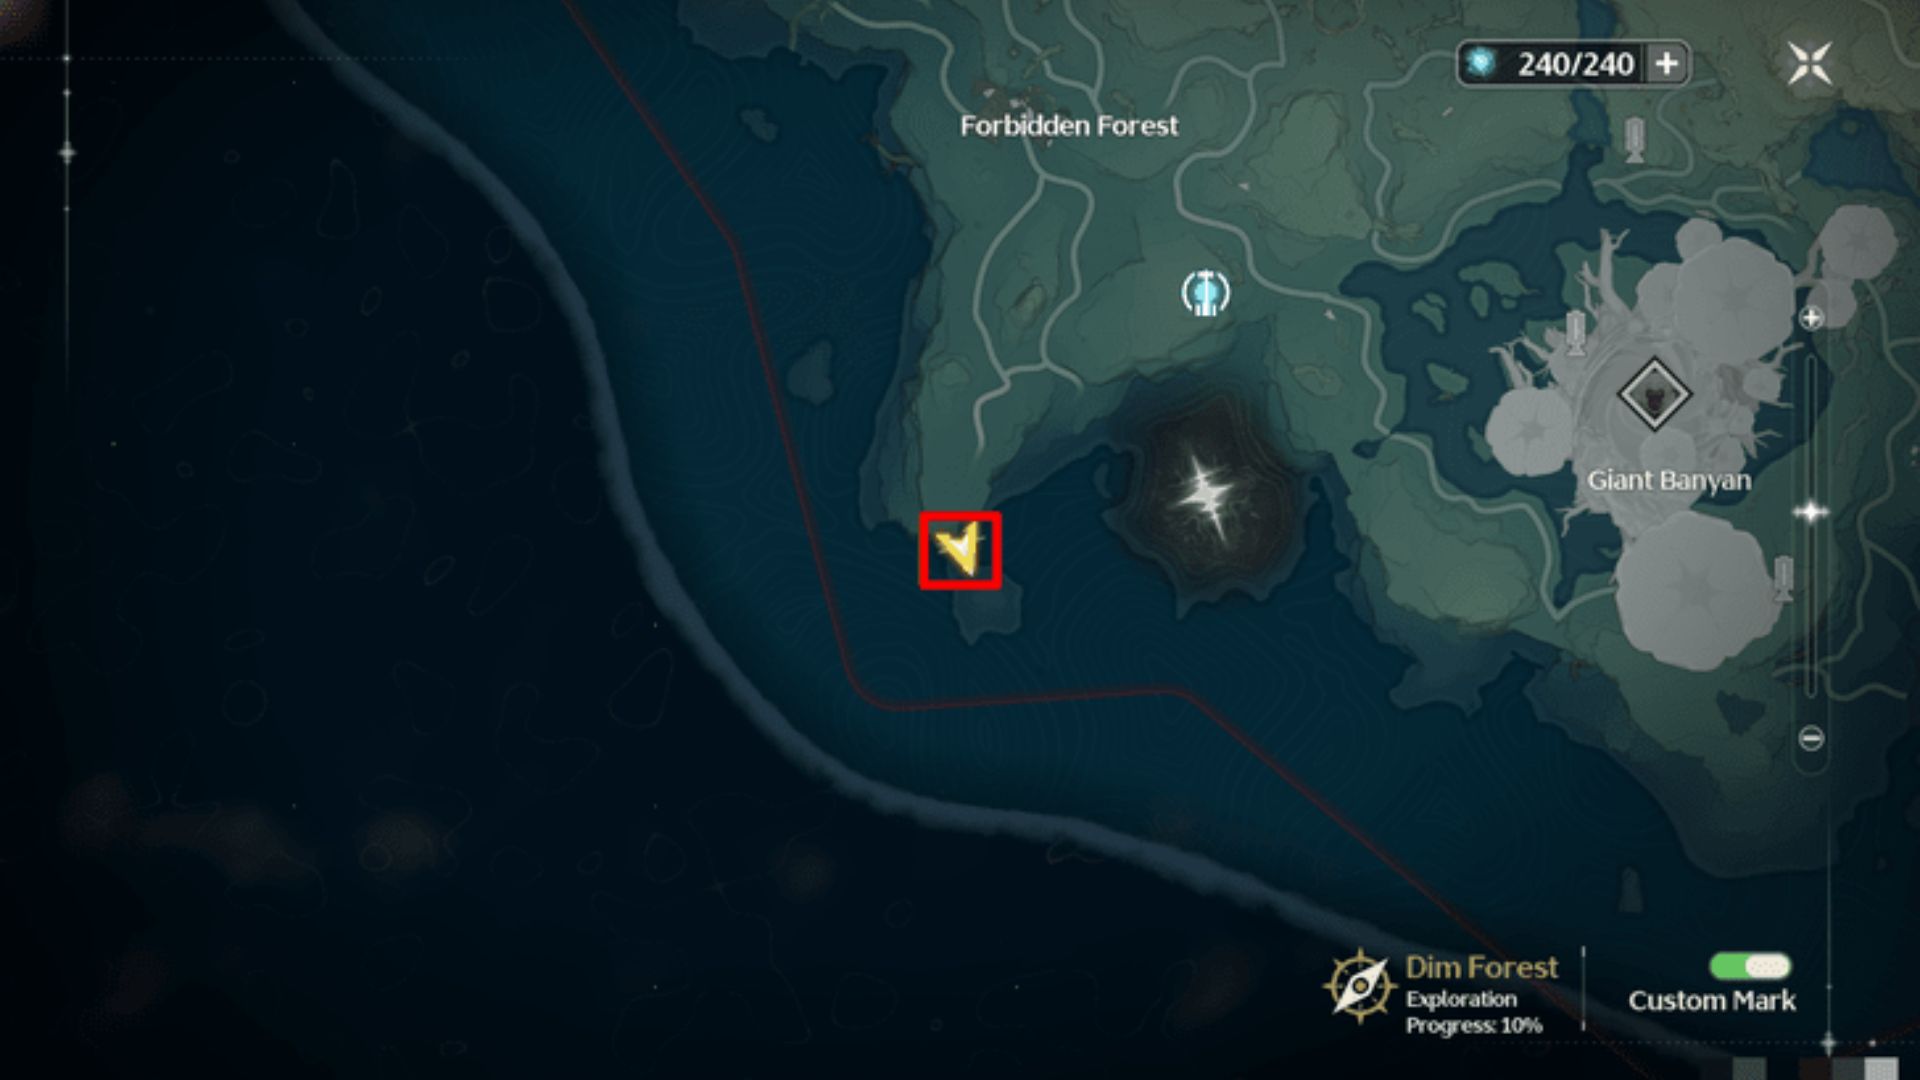 Forbidden Forest Lighthouse Location (Credits: Kuro Games)
Tiderise Cliff Lighthouse
Location: On the edge of Tiderise Cliff, near the Huanglong-Dim Forest-Forbidden Forest Resonance Nexus.
- Activate Cell Sockets
- Use the Levitator to insert the first Induction Cell found near the lighthouse into the right Cell Socket.
- Locate the second Induction Cell in the bushes left of the lighthouse and insert it into the left Cell Socket.
- Repair the Lighthouse
- Access the terminal and solve the puzzle.
- Locate the Treasure
- Find the treasure north of the lighthouse near the cliff’s edge. A glowing white beacon marks the spot. Dig it up to receive a Standard Supply chest.
 Tiderise Cliff Lighthouse Location (Credits: Kuro Games)
Nameless Bay Lighthouse
Location: North of Shattered Blocks, near the Huanglong-Wuming Bay Resonance Beacon.
- Activate the Cell Socket
- Insert the Induction Cell into the Cell Socket using the Levitator function.
- Hit the Training Dummies
- Destroy all training dummies within 42 seconds to unlock the terminal.
- Repair the Lighthouse
- Solve the color-connection puzzle.

- Locate the Treasure
- The treasure lies beneath a boulder near the lighthouse. Interact with it to uncover a Standard Supply chest.
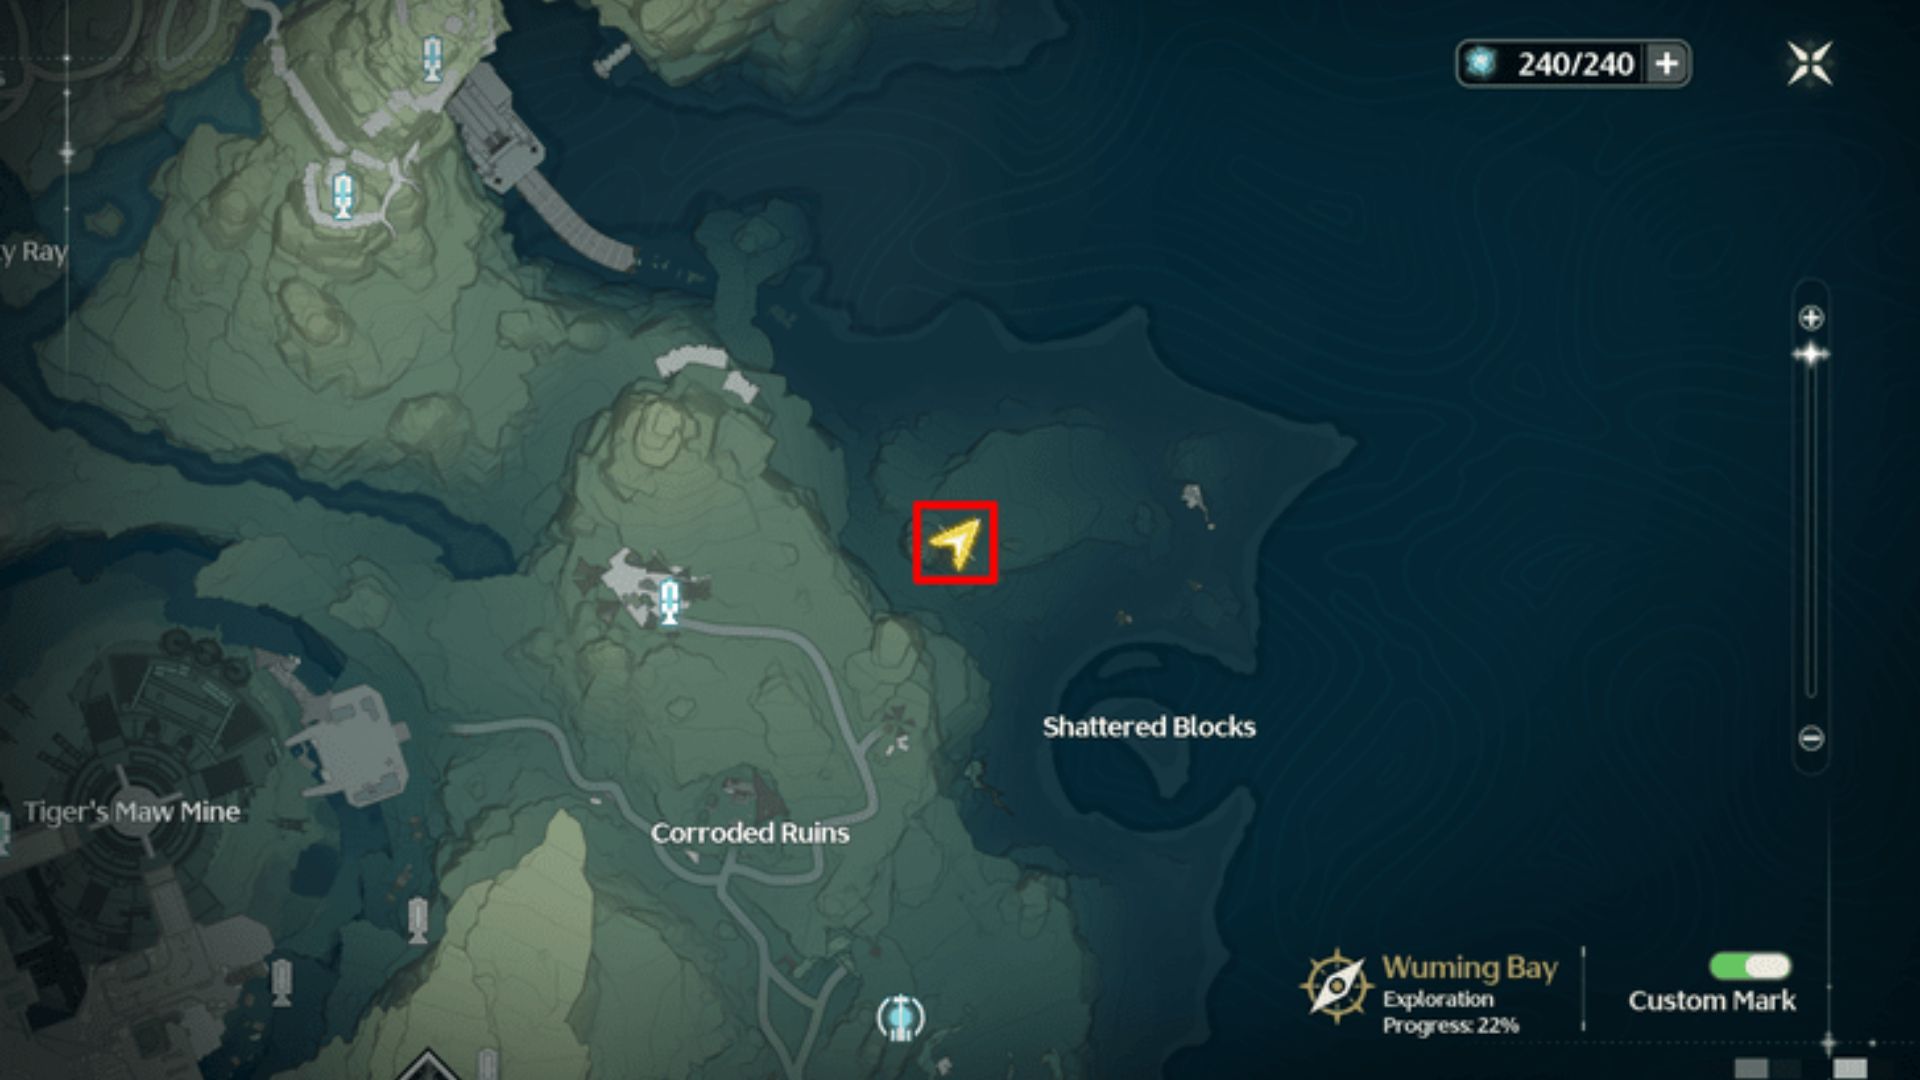 Nameless Bay Lighthouse Location (Credits: Kuro Games)
Desorock Highland Bay Lighthouse
Location: On a cliff near Camp Overwatch.
- Escort the Junior Engineer
- Speak to the Junior Engineer at Camp Overwatch. Escort her to the lighthouse, defeating any TDs that appear along the way.
- Repair the Lighthouse
- Allow the engineers to repair the lighthouse, then solve the terminal puzzle.
- Locate the Treasure
- The treasure is located near the cliff’s edge, marked by a glowing white beacon. Dig it up to obtain a Standard Supply chest.
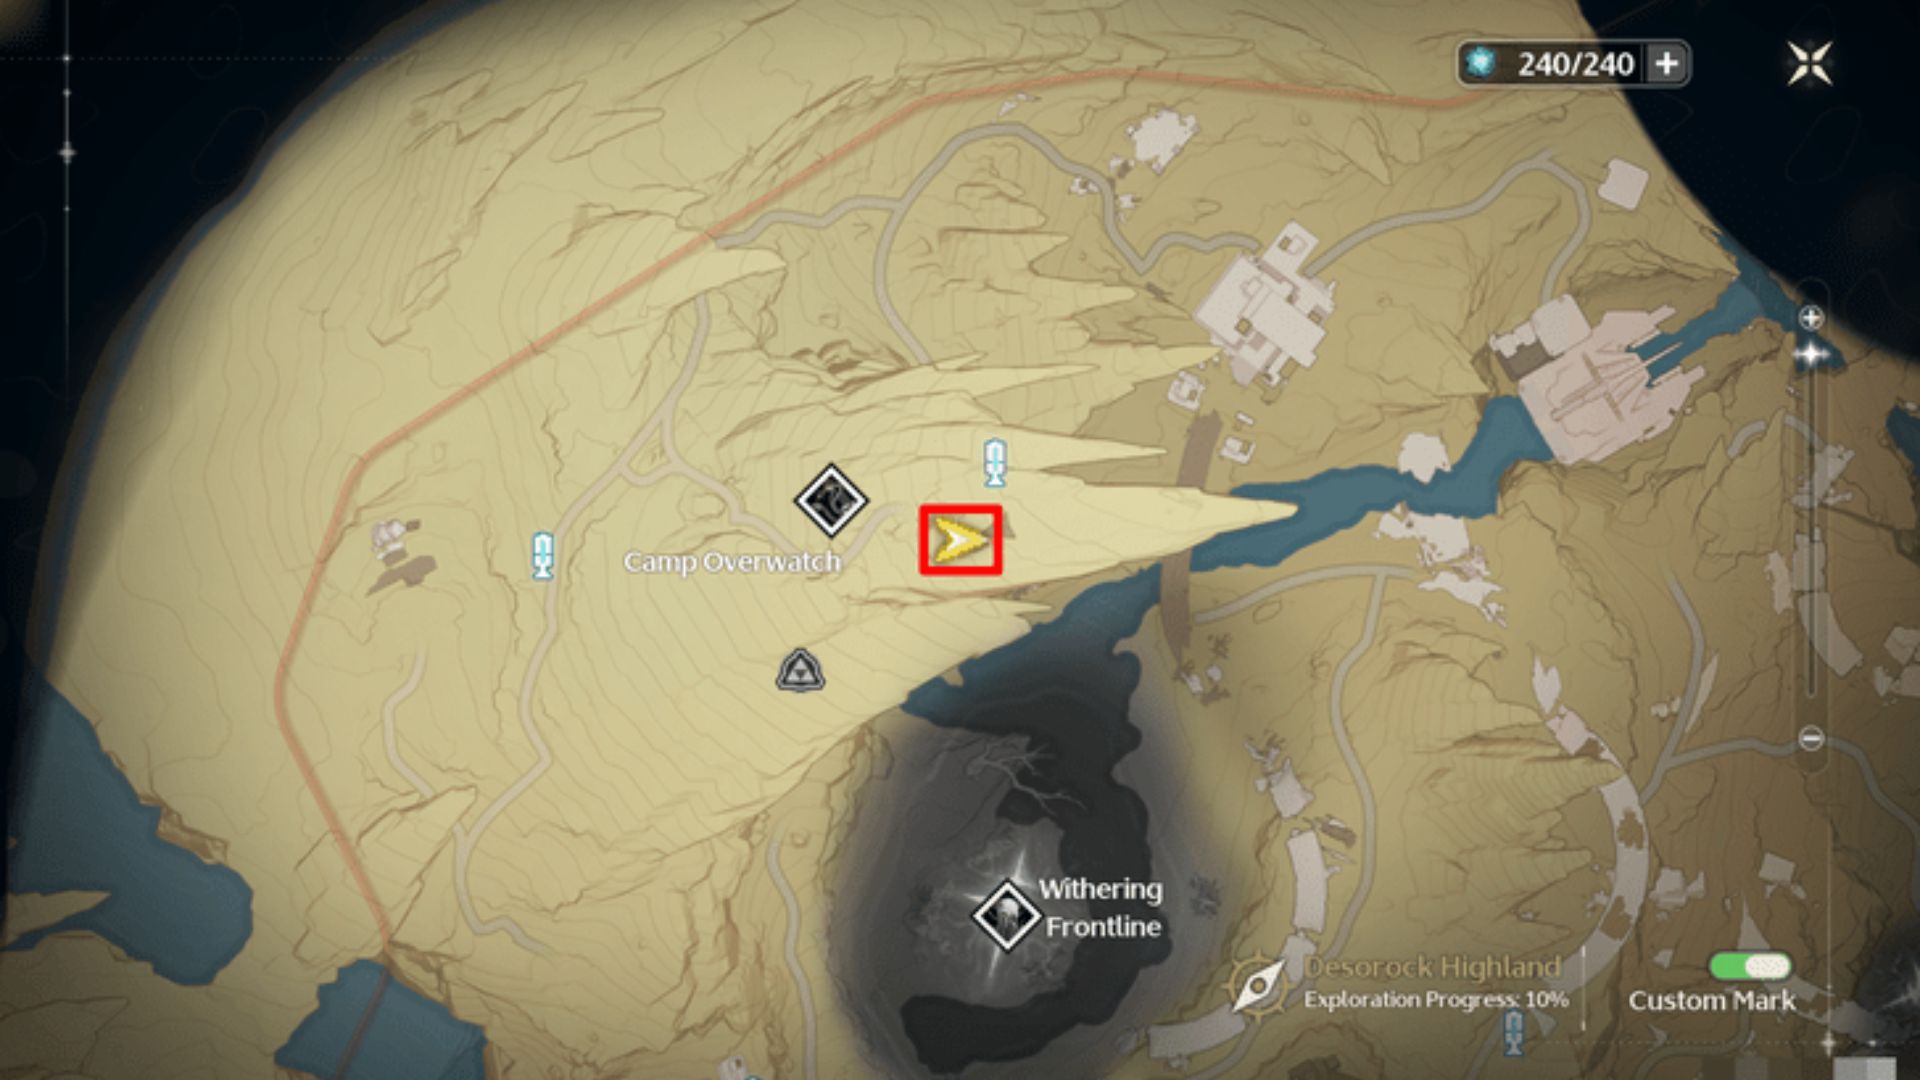 Desorock Highland Bay Lighthouse Location on Map(Credits: Kuro Games)
Completing the Quest
Once all five lighthouses are repaired, The Historian will notify you. Return to Jinzhou City and speak with him to complete the quest. Your final reward will include a Premium Supply chest.
Total Rewards
- Standard Supply Chests – One at each lighthouse.
- Premium Supply Chest – Awarded by The Historian after completing the quest.
By following this guide, you can easily complete the Lost History quest, enjoy its challenges, and reap its rewards. Good luck, Rovers!